Fire Risk Self-Check
Spot the warning signs of an imminent or recent chimney fire.
A chimney fire is combustion of creosote deposits inside the flue, reaching temperatures over 2,000°F — hot enough to crack clay tile liners, warp stainless steel, and ignite wood framing in adjacent walls. The NFPA estimates approximately 25,000 chimney fires per year in the United States, causing over $125 million in annual property damage. Chimney fire prevention is not an abstract concern. It's the primary reason NFPA 211 exists and the single most important thing a fireplace owner can do right.
This guide covers exactly how chimney fires start, the warning signs that mean you are having one right now, the after-the-fact signs that mean you had one and didn't know it, the five-step emergency response, and the eight-item prevention checklist that reduces your risk to near zero.
Chimney fires begin in creosote. Creosote is a tar-like byproduct of incomplete wood combustion that condenses on the cool interior walls of the flue. Under normal burning conditions, it accumulates slowly as a soft flaky deposit. Under poor burning conditions — wet wood, starved-air fires, smoldering overnight burns — it accumulates faster and harder, progressing through three recognised grades.
Grade 1 creosote is soft, flaky, and removed easily by a standard sweep. Grade 2 is crunchy, scale-like, harder to remove. Grade 3 is glazed — a shiny black or dark-brown coating that looks like cooled tar. Grade 3 glazed creosote is the most dangerous form because it burns the hottest, the fastest, and is the hardest for a sweep to remove mechanically.
A chimney fire ignites when flue gas temperatures or a stray ember raise creosote past its auto-ignition temperature — roughly 451°F for lighter deposits and higher for glazed deposits. Once ignition occurs, the creosote burns aggressively, feeding on oxygen drawn up the flue by convection. Flue temperatures climb past 2,000°F within minutes. At those temperatures, clay tile liners crack from thermal shock, stainless steel liners can anneal and lose structural integrity, and heat transfers through the masonry to combustible framing that may be only inches away.
The danger isn't always the fire itself. It's the damage the fire leaves behind. A chimney fire that burns for five minutes and self-extinguishes can leave a cracked liner that vents hot combustion gases directly into your wall cavity on every future fire, gradually igniting framing until the next full house fire.
Chimney fires split into two categories, and the difference matters because one is obvious and one is almost invisible.
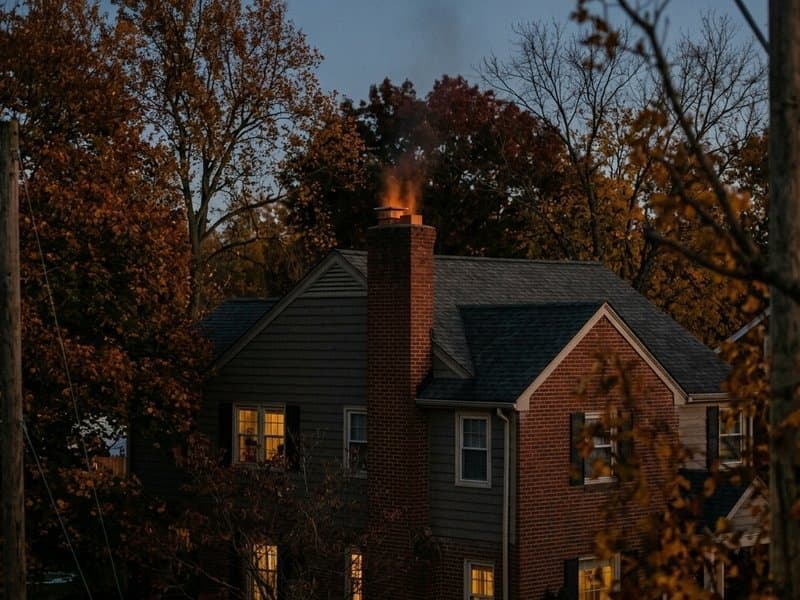
Free-burning chimney fires are the dramatic kind. The flue has enough oxygen and enough creosote fuel to produce a visibly violent fire. Flames and dense black smoke erupt from the chimney top. The chimney produces a loud roaring sound often compared to a freight train or a jet engine. The structure itself may vibrate or shake. Glass fireplace doors rattle. From inside the house, the sound is unmistakable even to homeowners who have never experienced one before. Free-burning fires are obvious; the challenge is knowing what to do.
Slow-burning chimney fires are the more common and more dangerous kind. The flue has creosote fuel but limited oxygen — which means the fire smolders rather than roars. There may be no visible flames from the chimney top, no unusual sound, no external sign of anything happening. Temperatures inside the flue still reach damaging levels, and the structural damage is identical to a free-burning fire. The homeowner may not know the fire occurred until damage is discovered months later during an inspection, if ever.
This second category is why prevention matters more than response. Many homeowners have had slow-burning chimney fires without knowing it. The cracked liner, the warped damper, the discoloured cap — these are the footprints of a fire that burned silently and left permanent damage.
If you are currently using your fireplace or wood stove and any of the following happens, treat it as a chimney fire until proven otherwise.
Any single one of these signs warrants immediate action. Do not wait to see a second sign.
If you've had a slow-burn fire and didn't know it, physical evidence remains on the chimney. A professional Level 2 inspection will find it. Between inspections, look for these indicators yourself.
If any of these are present, stop using the fireplace and schedule a Level 2 inspection before the next fire. A chimney that has burned once and lost flue integrity is not safe for continued use.
Memorize these five steps. If you ever have a chimney fire, you will not have time to look them up.
Get everyone out of the house. This is the first and non-negotiable step. Accounting for family members, pets, and anyone else in the building comes before every other action. Exit the house via the nearest safe route and assemble outside at a predetermined meeting point.
Call 911. Chimney fires require professional response. Fire departments are trained to assess whether the fire has breached the flue and spread to structural framing, which is the primary hazard. Even if the fire appears to self-extinguish quickly, the fire department should clear the structure before you re-enter.
If safe to do so, close the damper and glass doors. Starving the fire of oxygen is the single most effective way to slow it. Close the damper to limit updraft, and close glass fireplace doors if the fireplace has them. Only do this if it can be accomplished in seconds without approaching the fire — your safety comes before the attempt.
Do NOT use water on the chimney fire. Water hitting a 2,000°F flue produces rapid steam expansion and severe thermal shock. The resulting pressure can crack the flue, blow the damper open, or cause masonry to fail catastrophically. Garden hoses on chimney fires are a documented cause of secondary structural damage.
After the fire department clears the scene, do not use the fireplace again until a Level 2 inspection is complete. NFPA 211 specifies a Level 2 inspection after any chimney fire. This is not optional and it is not a Level 1 visual check. A camera scan of the full flue length is required to identify liner cracks, warped components, and structural damage that looks fine from the outside.
Prevention is not a mystery. Eight specific practices, applied consistently, reduce chimney fire risk to near zero.
Annual inspection — non-negotiable. NFPA 211 requires annual inspection for every chimney in use. A Level 1 inspection catches most developing problems (creosote accumulation, liner cracks, damper failures) before they become fire risks.
Sweep when creosote reaches 1/8 inch of accumulation. The threshold from NFPA 211. Sweeping removes the fuel for a chimney fire before it can ignite. Heavy wood-burning users sweep annually; light users every 2-3 years. how-often-chimney-sweep covers the frequency math in detail.
Burn only seasoned hardwood with moisture content below 20%. Green or wet wood produces 2-3x the creosote of seasoned wood because the flue runs cooler when heat is being consumed by water evaporation. A moisture meter ($15-$25 at hardware stores) is the cheapest chimney fire prevention tool you can buy.
Never burn treated wood, cardboard, wrapping paper, or Christmas trees. Treated wood releases toxic compounds and non-standard residues. Cardboard and wrapping paper flash-burn at high temperatures, ejecting flaming particles up the flue that can ignite creosote deposits. Christmas trees are full of flammable resins that produce explosive flue temperatures.
Maintain hot active fires, not smoldering overnight burns. Damped-down overnight fires burn cool and incomplete, producing the exact smoke conditions that deposit heavy creosote. Hot clean fires with active flames and good airflow burn fuel completely and deposit less creosote per unit of wood.
Use a chimney cap with spark arrestor. A cap keeps out water, animals, and debris, all of which contribute to flue problems. A spark arrestor — a mesh screen integrated into the cap — stops burning embers from being ejected onto the roof, which is how chimney fires sometimes spread to the building itself or to neighbours.
Install smoke and CO detectors on every floor, test monthly. Fire detection is the last line of defence, not the first. But when everything else fails, working detectors buy you the minutes you need to evacuate. Replace batteries annually and replace units every 10 years.
Keep a Class A fire extinguisher near the fireplace. Rated for wood, paper, and fabric fires. Not a substitute for calling 911 on a chimney fire, but essential for any fire that spreads into the room from the firebox or from embers that escape.
| Scenario | Inspection Required | Typical Findings | Repair Scope |
|---|---|---|---|
| Normal annual maintenance | Level 1 | Creosote accumulation, minor wear | Sweep, minor touch-up |
| Recent chimney fire (confirmed) | Level 2 mandatory | Cracked liner, warped components | Reline, damper replacement |
| Suspected slow-burn fire | Level 2 | Tile cracks, heat discoloration | Possible reline, crown work |
| After chimney fire — damage found | Level 2 + possibly Level 3 | Structural damage, breached flue | Reline, rebuild above roof, or full rebuild |
| Chimney fire with spread to framing | Level 3 + building code inspection | Charred framing, compromised structure | Major structural work + reline |
Most standard homeowners insurance policies cover chimney fire damage under the general fire-damage provision. Coverage is not automatic, however, and insurance companies may deny or reduce claims when maintenance records are missing.
The pattern to avoid: insurer requests maintenance records as part of the claims process. Homeowner cannot produce records of annual inspections or sweeps. Insurer argues that the fire was caused by negligent maintenance and reduces or denies coverage. This is a documented pattern — particularly on higher-value claims — and it is specifically why keeping your chimney sweep receipts matters.
Maintain a simple paper or digital file of every chimney-related invoice. Include the date, operator name, certification number, scope of work, and photos where provided. A three-year record of annual inspections and any recommended sweep work is usually sufficient to answer insurance questions.
Also review your policy specifically for wood stove coverage. Some policies require wood stoves to be professionally installed and UL-listed. An uninspected DIY stove installation can void the fireplace-related coverage entirely.
Assume a chimney fire has occurred. The fire department has cleared the scene. What happens in the next week.
Day 1-3. Stop using the fireplace. Document the event — write down what you saw, when, how long the fire lasted, and any visible damage. Take photos of the chimney exterior and the firebox interior. Contact your insurance company to open a claim if damage is suspected.
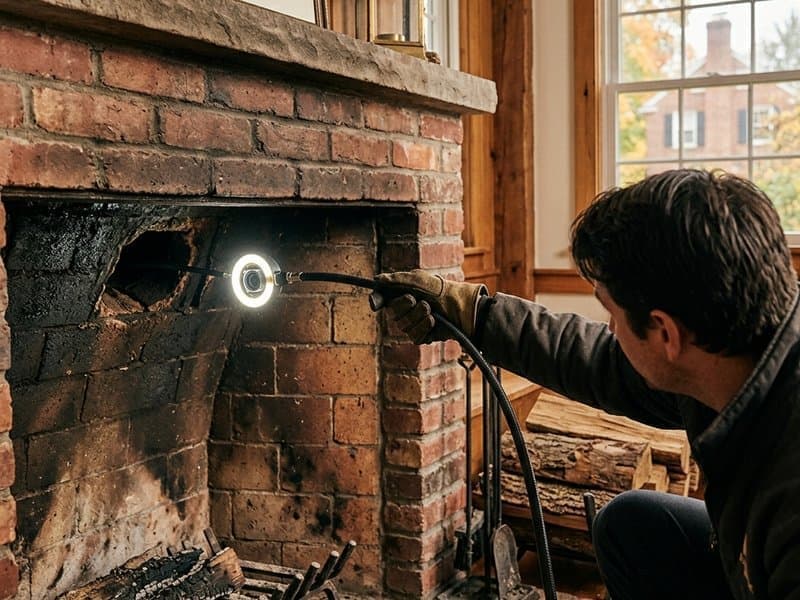
Day 3-10. Schedule a Level 2 inspection from a CSIA-certified operator. This is not a Level 1 visual check; it is a video-camera scan of the full flue length with a written report. Budget $300-$600. Do not use a sweep you've never used before without verification — the VoC research documents "free post-fire inspection" offers that lead to repair quotes well above the typical range. Verify CSIA certification before booking.
Day 10-30. Review the Level 2 findings with the inspector. Typical repairs after a confirmed fire include liner replacement (stainless steel relining runs $2,500-$7,000), damper replacement ($300-$800), crown work if heat-damaged ($500-$2,500), and cap replacement ($200-$600). If rebuild is recommended, get two more quotes before authorising work — post-fire scenarios commonly produce wide quote spreads, so triangulating with a third opinion is worth the time.
Day 30 onward. Coordinate with your insurance adjuster. Provide the Level 2 inspection report, repair quotes, and your maintenance records. Do not begin repair work until the insurance process authorises it, unless the damage creates an immediate safety hazard (in which case document the emergency in writing).
Browse 30+ guides, or jump straight to verified operators in your state.
How often should you clean your chimney? The direct answer from NFPA 211, broken down by fuel type and usage — plus when annual sweeps are a scam.
NFPA 211 inspection levels: Level 1 no camera, Level 2 video camera required. Each level includes all lower levels. Sweep durations, scope, scams to avoid.
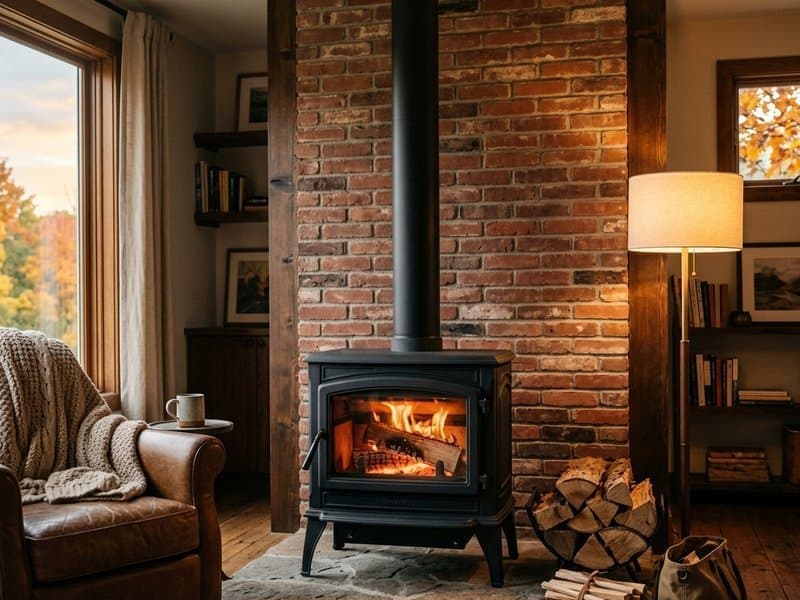
Wood stove chimney cleaning and maintenance guide — stovepipe vs chimney, gasket inspection, catalytic combustors, proper burn technique, and cost ranges.